I started building my shack a couple of years ago when our family moved into a house that had extensive room to do what we want with. This area was approximately 26 ft by 50 ft. I was able carve out a small bit of the area to build my ham shack anyway I wanted. Click HERE to see what I did with it.
His is a pictorial essay on my current radio equipment. Enjoy.
K7JM’s Ham Radio Shack
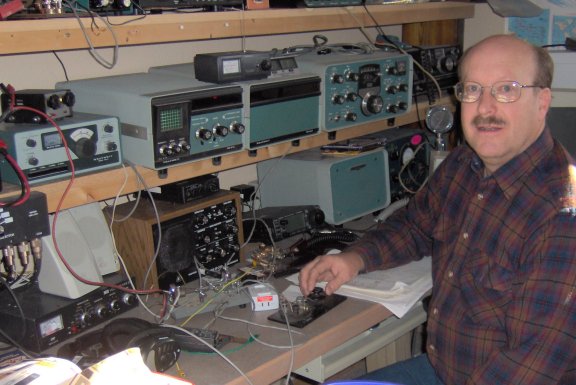

 The picture on the far left shows the overall setup of my operating position. It is all attached to a U shaped desktop. The picture to the right, shows me sitting at the operating position with most of the radio equipment available to my finger tips. I will be showing you only the equipment on the bottom, and the first shelf up as this is my most used gear.
 My main station rig is an ICOM IC-706MKIIG (7 0 6 mark two G). It is a multimode rig covering from 160 meters (1.8 MHz) to 70 cm (440 MHz). The 706 is directly in front of me, making it very convenient to operate. It has a built in iambic electronic keyer. CW is my most used mode.
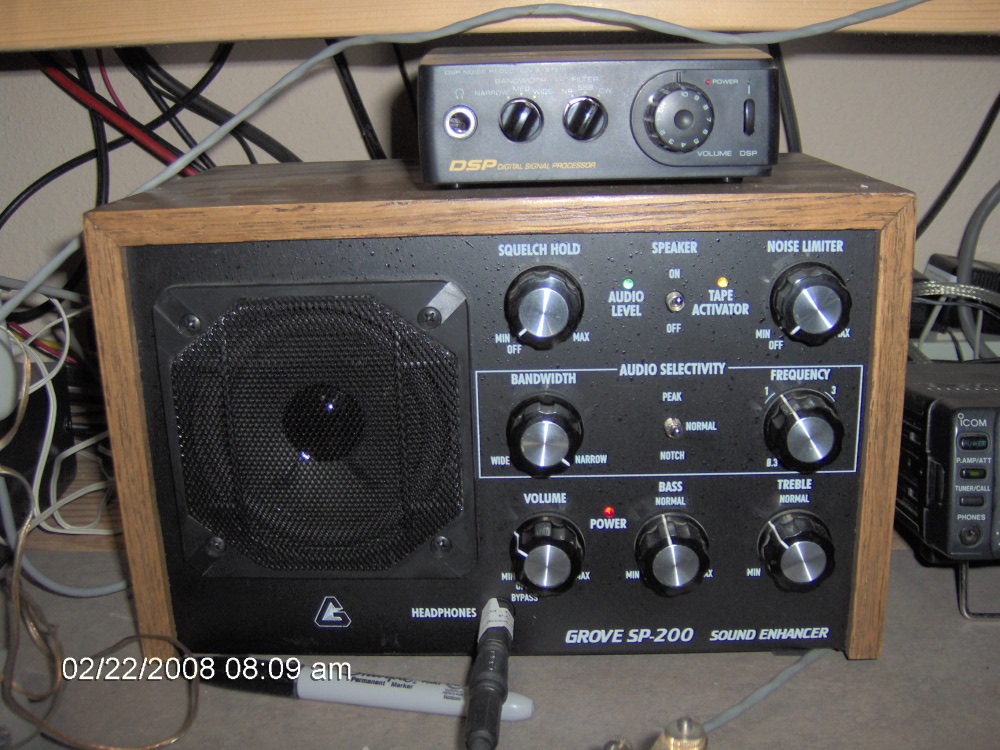 This picture shows two audio filters that I use in series. The sound from my rig is plugged into the small DSP (Digital Signal Processor) filter sitting on top. It is a Radio Shack DSP Noise Reduction System model 21-543. It has a built in speaker, but also has “audio out”. I pipe the audio out to the larger unit under it. It is a Grove SP-200 Sound Enhancer. It has a variable bandwidth band pass / notch filter. It is a real nice unit. It also has a built in speaker but had no audio out, so I put a jack on the rear panel to cut out the built in speaker and use an external one. This unit also has bass and treble controls, along with a noise reducer and audio gain control (volume control). I pipe the audio out to a stand alone speaker; and The Grove Sound Enhancer also has a headphones jack. I purchased these two units along with a pile of other station accessories at a garage sale in Kirkland, WA near Seattle. I got a whole box full of this kind of stuff for 50 bucks.
 ![]()
 My main station speaker is a Heathkit SB-604 speaker. I was given this speaker by Rich Weddle N7GC. It is a very nice speaker for communications work. I have it situated on the shelf above my ICOM rig; and has the sound right where I need it at ear height. The Heathkit speaker is plugged into the Grove Speech Enhancer described above.
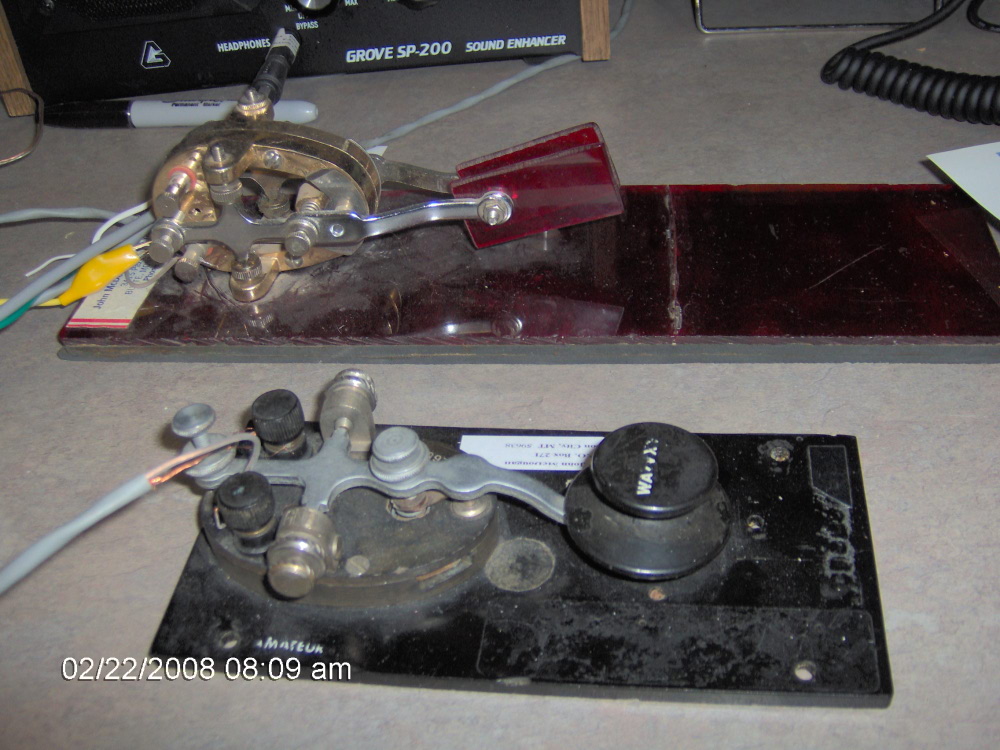 Since my main mode of communication is by CW (Continuous Wave or Morse Code), my keying apparatus is directly in front of my Icom and the sound processors. The hand key in the foreground, is an old Navy key that my dad gave me long ago while he was in the Navel Reserve. It is my favorite key, and use it often when I am operating “Straight Key” events.
The paddle in the background is a homebrew configuration I made consisting of two hand keys mounted back to back and on their sides with small plexiglass rectangles replacing the knobs that were originally on the keys. I use it extensively for my CW QSO’s. These keys are currently connected to the Icom, which has a built in keyer but I arrange them and use them with any of my rigs.
 I also have an old Vibroplex Bug. I don’t use it as often as the Iambic paddle or straight key, but I always have it handy in case I want to fire it up. I purchased the bug many years ago used for $20. What a steal.
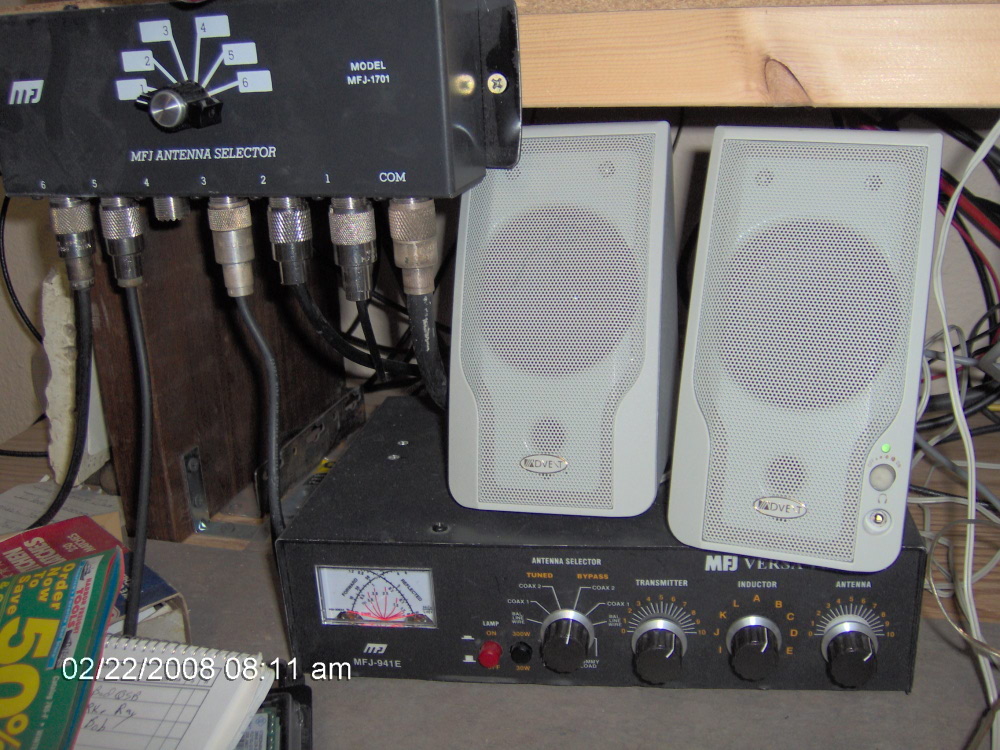 The photo to the left shows three often used station accessories. At the far left is a MFJ 1701 Antenna Switch. I only have one antenna up at the moment, which is a dipole, but I use this switch to switch that antenna to any of my rigs. It has a six position switch which leaves room for a future rig, or a current project I may be working on.
To the right and at the bottom of the picture is a MFJ 941E Versa Tuner II antenna tuner. My dipole is non resonant, so I need to use the tuner. It is connected up to the antenna switch above so it is always in line with whatever rig I am operating on at any given moment.
Above the antenna tuner is a pair of Advent amplified computer speakers. I use these with my Heathkit QRP rig that is described below. I also use it for any projects where I may need a small audio amplifier (like a receiver project or an audio oscillator).
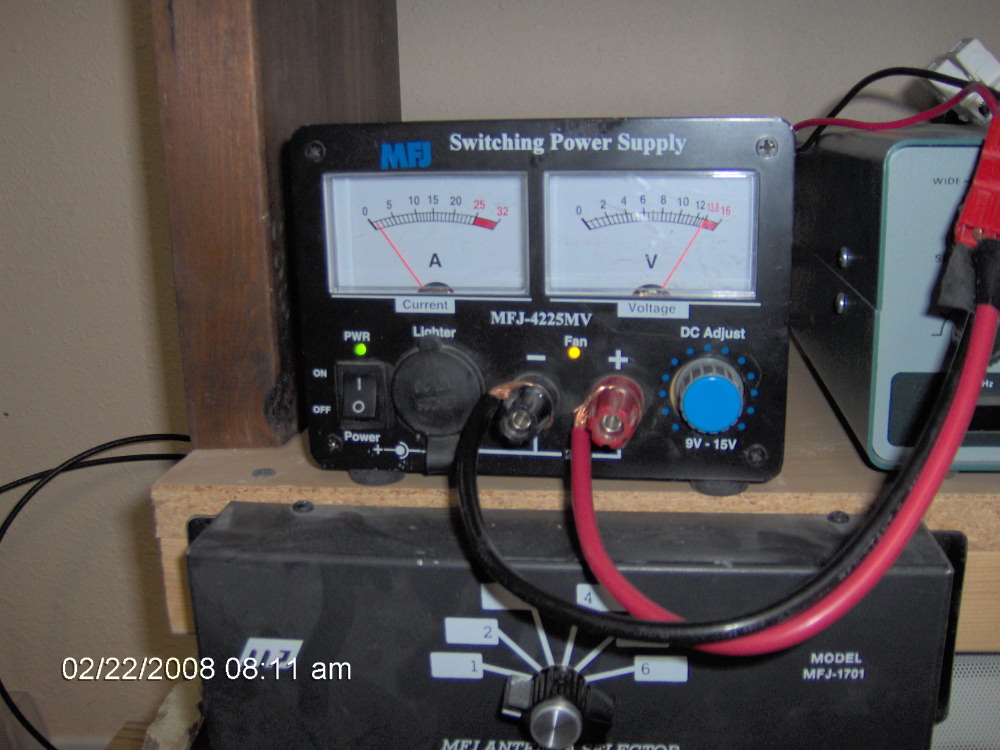 Pictured here is a MFJ 25 Amp switching power supply. It is quite light weight and is used for my main tranceiver (the Icom), QRP rigs, and other projects that need 12 Volt power. It is situated on the shelf directly above the antenna switch. A red and a black pigtails are connected to the power supply, and at the other end I have mounted several Anderson Power Pole connectors. These are becoming a universal 12 Volt DC connector and all of my 12 Volt equipment have Anderson Power Pole connectors on them and make things very easy to switch around.
 This is my Heathkit HW-8 QRP Transceiver. It operates at less that 5 watts out and is very fun to use. This rig was given to me by my sister Char. She once had a Novice License and was starting to build this rig. She let her license laps and this partially finished rig sat in a box for 20 or so years. She gave it to me several years ago, and I had the pleasure of finishing the kit. It was great fun to put a Heathkit together so many years after they quit the kit making business. When I use this rig, I generally use the amplified computer speakers mentioned above. I have the rig situated on the shelf, right of the MFJ power supply and left of the Heathkit station monitor described below.
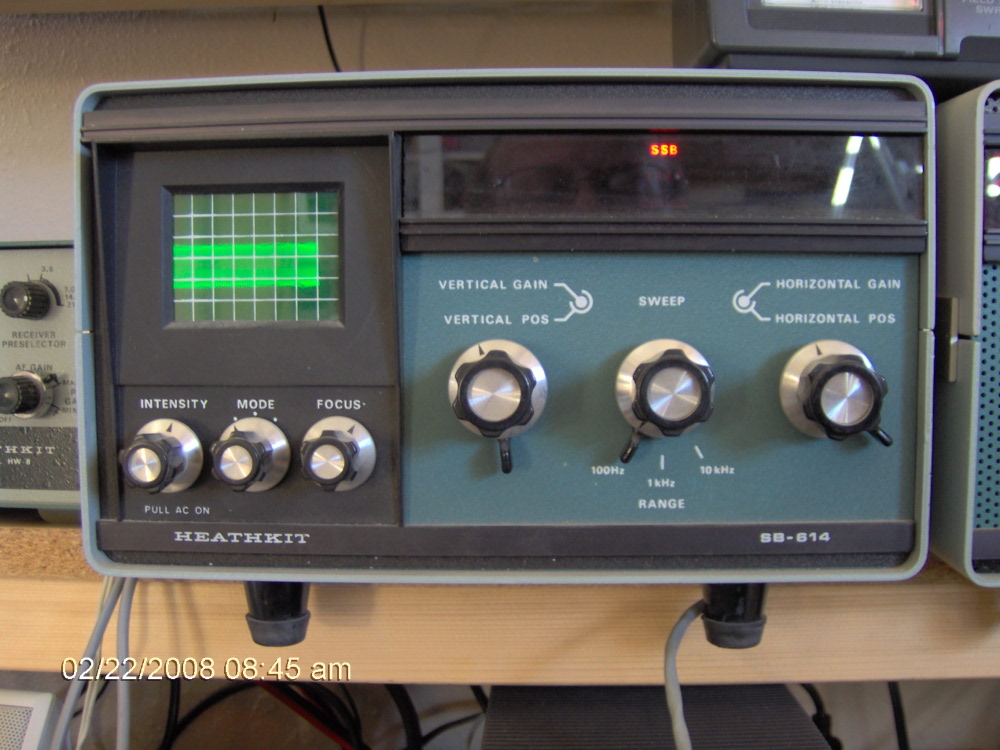 This is my Heathkit SB-614 Station Monitor. It is basically a small dual purpose oscilloscope. I have the audio from my Grove Sound Enhancer piped into it; along with RF from the transmitter. It monitors the received signals, as well as my RF output. I can monitor my keying waveform, or RF audio out to see if my RF signals look pure and ok. If I had a linear amplifier, it would also tell me if in fact it is truly outputting a liner signal or one that is over driven. Maybe some day I will have that amp.
 ![]() I purchased and assembled this Heathkit over 25 years ago. The station monitor is on the shelf situated between my Heathkit HW-8 QRP rig and the Heathkit station speaker; and is at eye level.
I purchased and assembled this Heathkit over 25 years ago. The station monitor is on the shelf situated between my Heathkit HW-8 QRP rig and the Heathkit station speaker; and is at eye level.
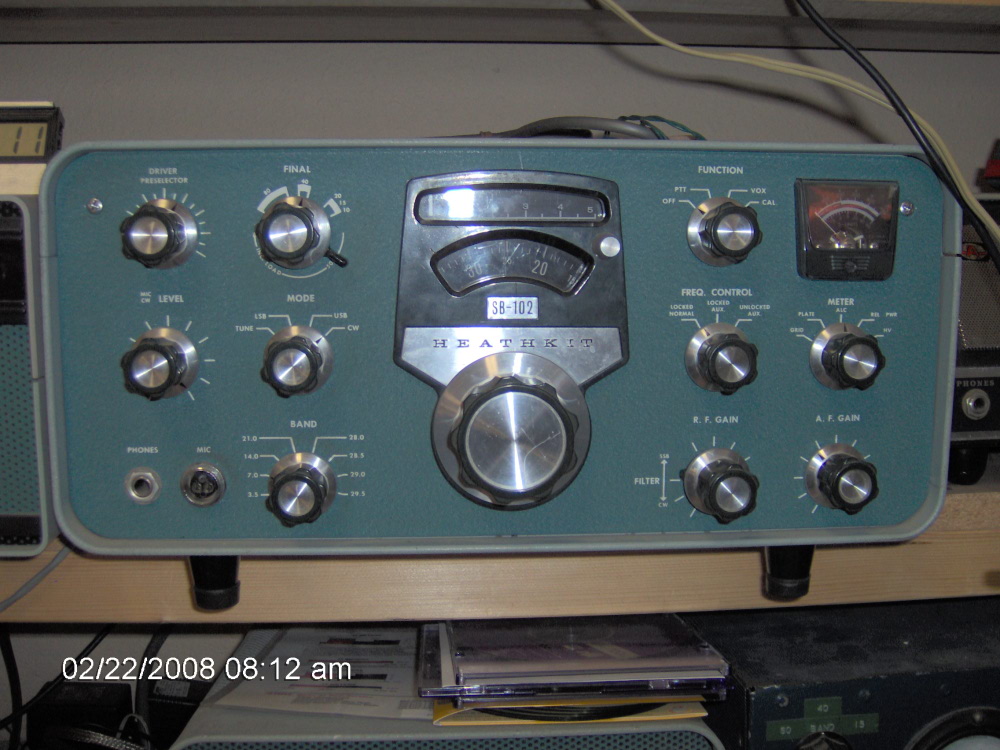 My favorite rig is my old Heathkit SB-102 all tube HF transceiver. It put out about 100 Watts. Power used to be measured as INPUT to the final amplifier, so is rated at 200 Watts, but really puts out 100 Watts. I built this rig shortly before I got my general test that I took on Jan. 27, 1975. I received it on Christmas in December 1974. I worked all the previous summer mowing lawns and doing odd jobs to save up for this rig. My parents contributed a portion of it so I could get it by Christmas time. You can be rest assured that no one saw me for days while I was putting together this gem. It was a very nice radio for its day. I still love using it. I used it this past New Years for Straight Key Night, which is on New Years Eve and New Years Day. It covers 80 meters through 10 meters but not the newer WARC bands. This radio is situated on the shelf just right of the Heathkit SB-604 speaker, but is not connected to it. It is connected to its own speaker shown below.
 This is the speaker that I use with my Heathkit SB-102 that is described above. It is a Heathkit SB-600 speaker, and I purchased it at the same time I purchased the SB-102. The SB-600 also houses the HP-23B power supply for the Heathkit SB-102 transceiver. Both had to be purchased separately as they were not included with the SB-102. The power supply puts out 12Volt for the tube filaments, -150 Volts for bias and about 800 Volts for the final amplifier. This speaker is connected to the SB-102 and sits below the SB-102 on my desk. I do not use the SB-102 as often as my main rig, the Icom, so the speaker is not right at ear level.
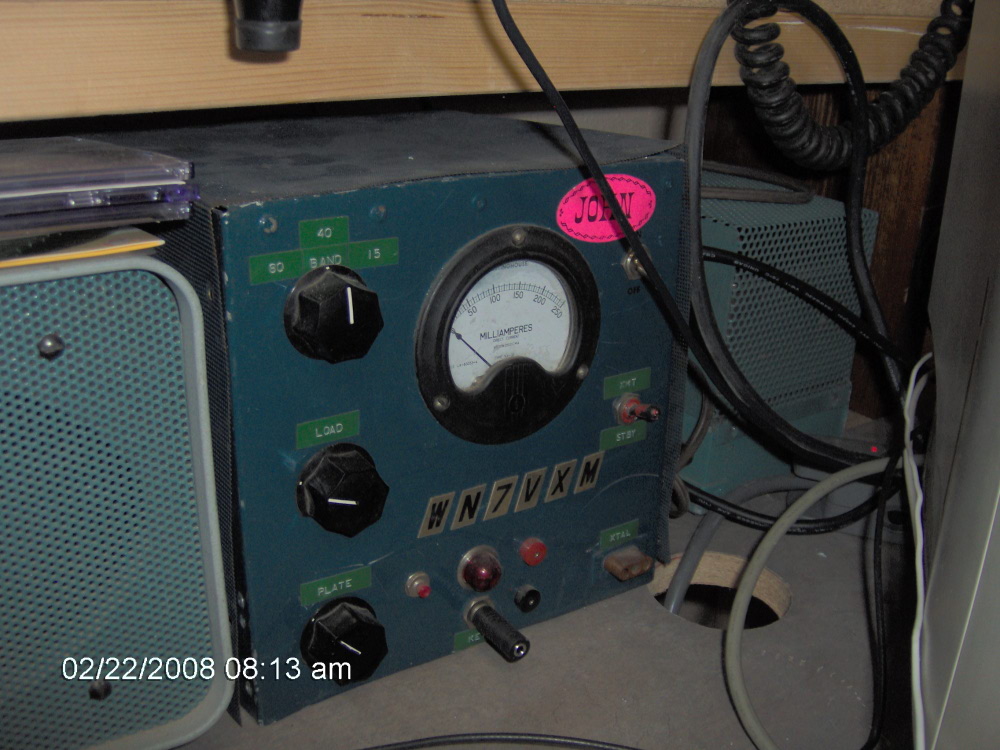 This is my first transmitter. I built it before and after I got my Novice license back in 1973. My elmer was Frank – WA7QZD (now KE7OF?) and he invested his time and talent in my life. I spent countless hours at his house where he helped me discover the joys of homebrewing. He was an avid CW QRP man and those traits leaked over onto me. A couple of years ago, I went through this rig and restored it and it is operational to this day. It is crystal controlled and I had one crystal on 40 Meters and that is where I hung around until someone loaned me a better transmitter. I believe it was a “Multi-Elmac“. My homebrew transmitter sits on the desktop to the right of the SB-600 speaker. To the right of the transmitter is a homebrew power supply that runs the transmitter.
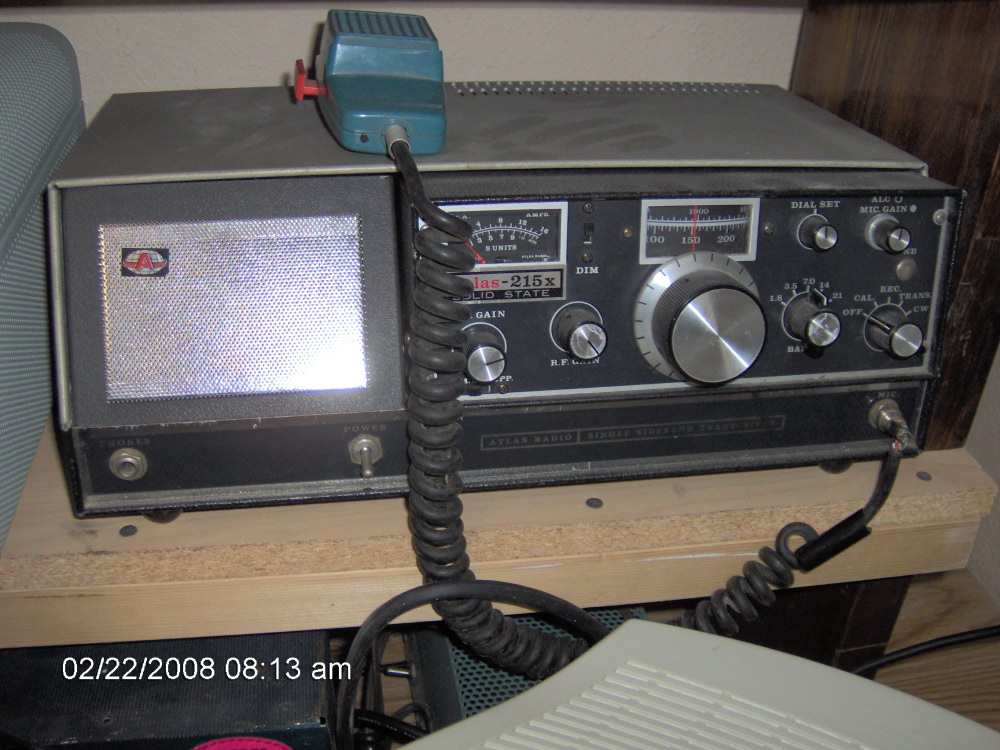 On the shelf, right of the Heathkit SB-102, sits an Atlas 215X tranceiver mounted in an optional console, power supply and speaker. I purchased this from a garage sale one day for 20 bucks. A girl was selling it; and she had no idea what it was. There was a chunk of coax connected to the antenna connector, with a CB antenna at the end of the coax. I’m sure she was completely confused if she thought this was a CB radio (which I’m sure she did since she mentioned to her mom as I was leaving, that “I sold my CB radio”). I basically use this old rig as an additional receiver when I want to listen to a second frequency while operating on another. It is on the shelf to the far right.
That is about it for the main radio equipment that I usually use. There are a couple of other items that I use that make my operating more pleasurable however. Here are a few of them.
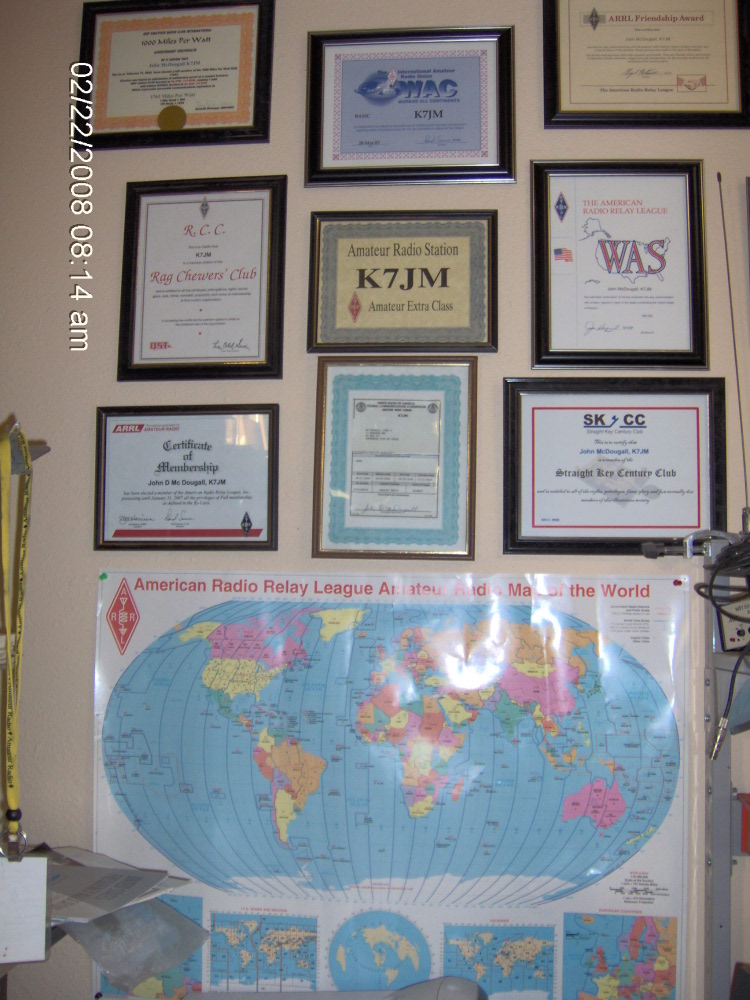 I have a world map to my right side, on the wall. I refer to this map often. I also put some of my awards and such above the map. Also, there are my FCC License, and membership certificates for various organizations.
 While this is something I don’t think about everyday, it is, non the less, a very important part of my shack. It is my ground system. I have it mounted under my desktop on the back wall. I have a ground rod in the ground on the other side of the wall. A large ground wire comes through the wall and is attached to a copper pipe I have mounted on a couple of 1 by 4’s on the wall. I put hose clamps on the copper pipe and clamp flexible ground braid that runs up to my equipment.
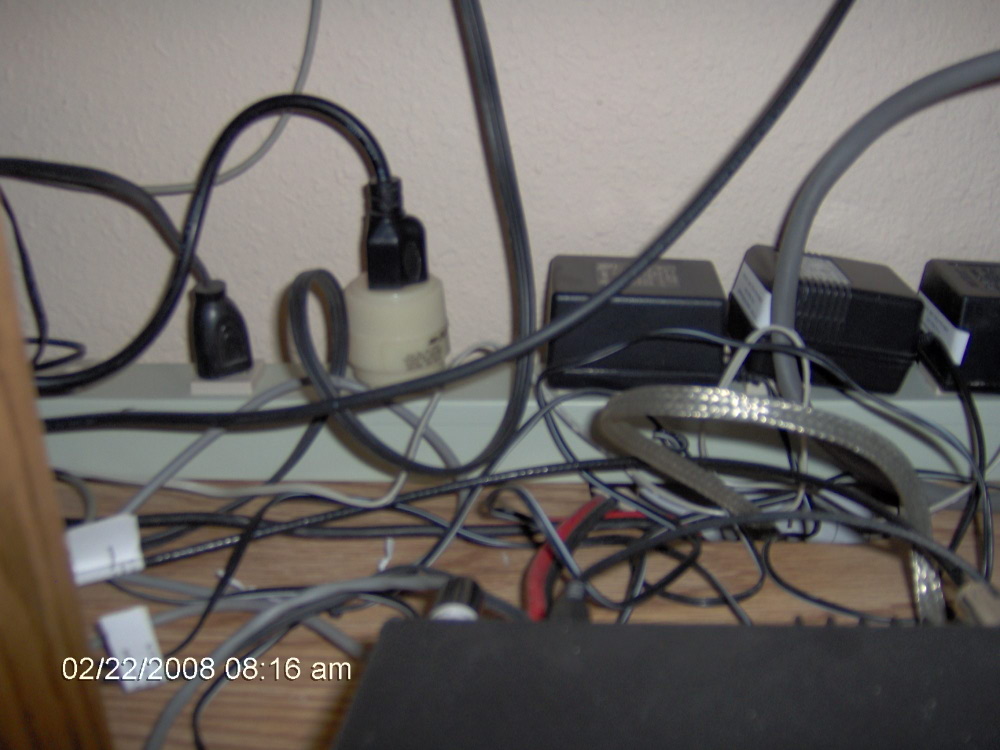 This picture shows a couple of things. First, look for the silver colored braid that comes up from my grounding system and connects to the back of the transceiver. Also, notice in this picture is a power outlet strip. It has 12 outlets on it and is a Trip-lite model # PS3612-20HW that I ordered from Provantage. When I was making my radio shack, I purchased two of these and put one on my operating position, and one on my work bench. I have the entire thing switched, and I will explain that below. Items that I want on all the time, are plugged into a smaller power strip.
 This is a picture of my “Master Power Switch.” The 12 outlet power strip that I described above is wired into this switch. The switch is located outside of my U shaped desk top. It might be a little less convenient to reach, but if there ever was an accident where I was in contact of a high voltage line, someone else could quickly reach the switch and shut it off without being in danger of the voltage. I also mounted a circuit breaker inside the switch box that can be easily pushed to reset if I ever overload my power strip. I have this switch plugged into the wall outlet. Every ham publication that I can remember, recommends a master switch for their station, but I don’t know of ANY who actually have one. Since I was building my station from scratch, I decided to have one.
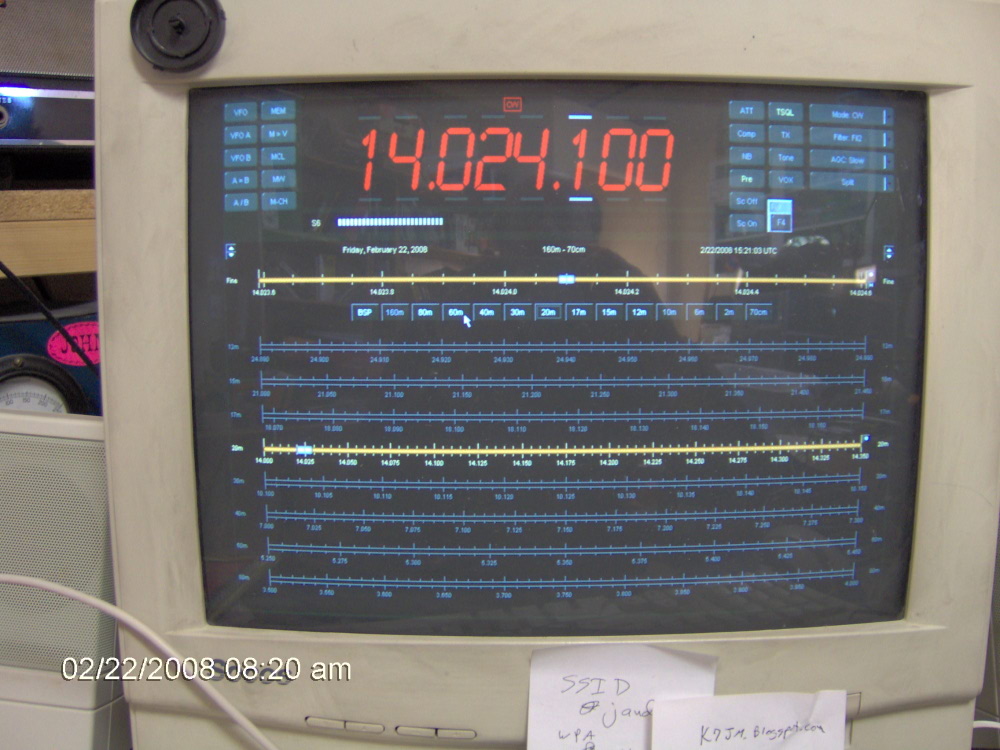 A station computer is a must these days. I use Ham Radio Deluxe to control my rig and for logging. It is a nice program that runs most rigs that have control capabilities. I also use the computer extensively to look up parts and such while building things on my workbench. I have a dual boot setup that boots into Windoze or into Ubuntu Linux. I prefer Linux for most of my computing but unfortunately, Ham Radio Deluxe does not have a Linux version and don’t have any plans for one.
I hope you have enjoyed this tour. I am interested in what kind of set-up you have or any other comments you have. You can send them to me at k7jm at mcdougallshome dot net.
Send your feedback to this address.
