My family and I moved to our current QTH (location) November 2004. Our new home had a lot of extra space in which we could build some needed rooms. The area was an open space of about 26? by 50?. We made the first 16? of the 50? area into a nice family room. With the rest, we built a spare bedroom, a large storage closet, and workshops for my wife and me. My area is about 14? by 12?, large enough for a good Ham Shack and work bench for my homebrew experiments. Here is a photo essay of that journey. Put your mouse pointer over the picture to get a brief description, and click the picture to see a larger view of it.
I finally was able to start construction of my shack in November 2006. I took some vacation time from work and was able to spend some good time on the shack. My goal was to have it mostly finished by Christmas 2006. Could I do it?
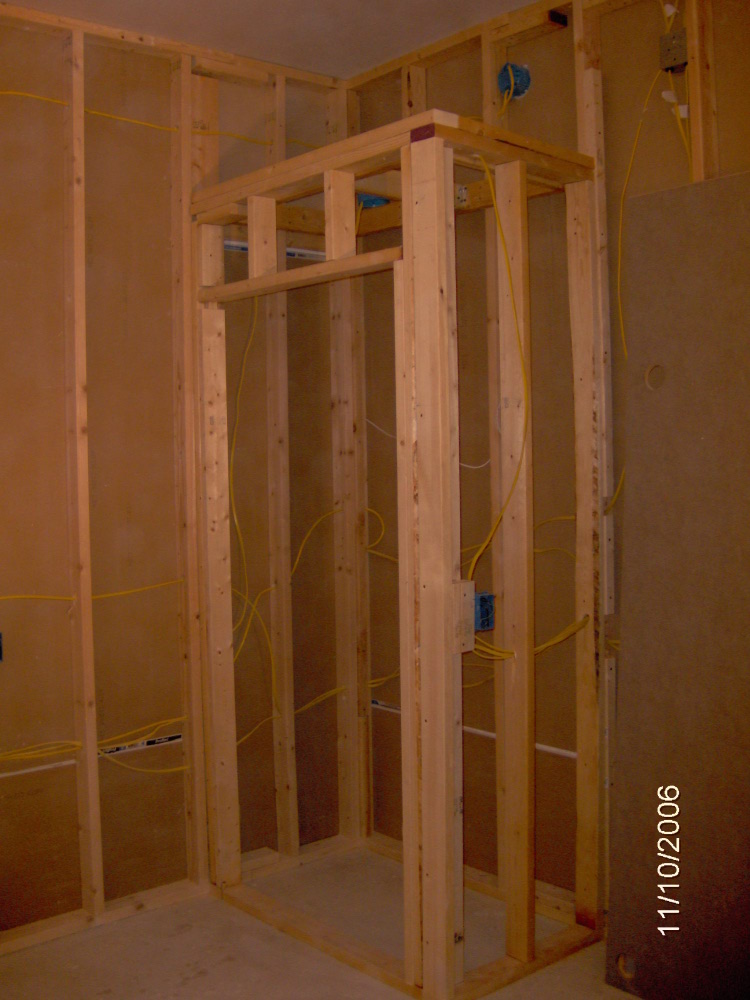
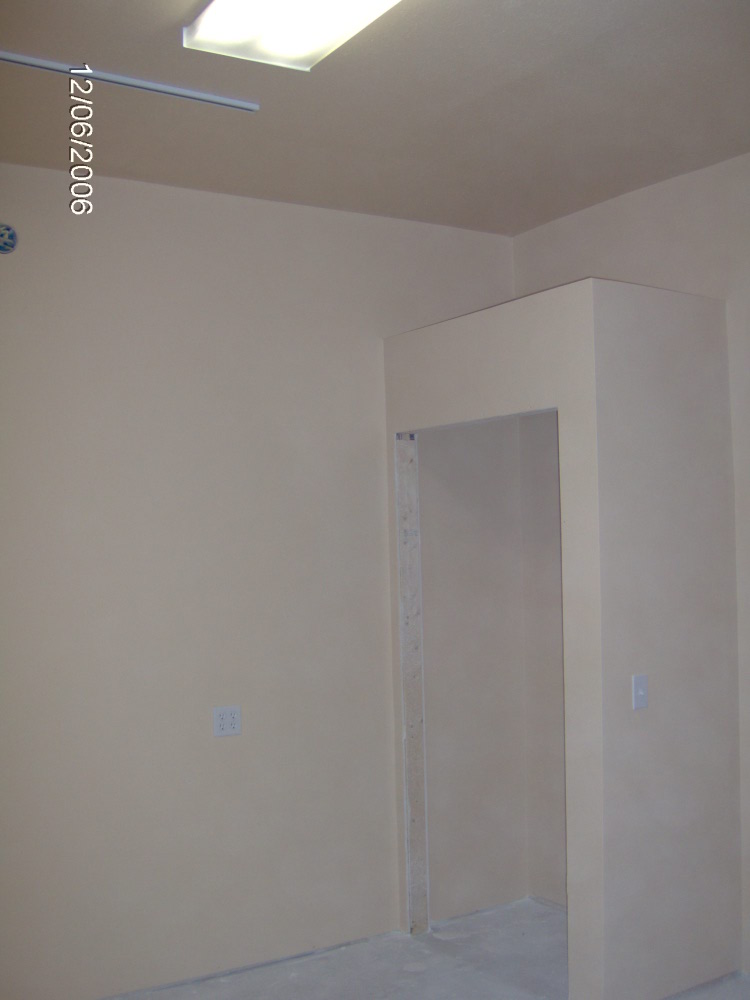
Framing in walls and closet
During my remodel job on my house, I had to move five windows. When we drew up our plans, each existing window ended up right where a wall was supposed to be or right in a closet. My ham shack was no exception. Look closely at the right hand picture and you can see a part of the old window frame right in the middle of the new wall.


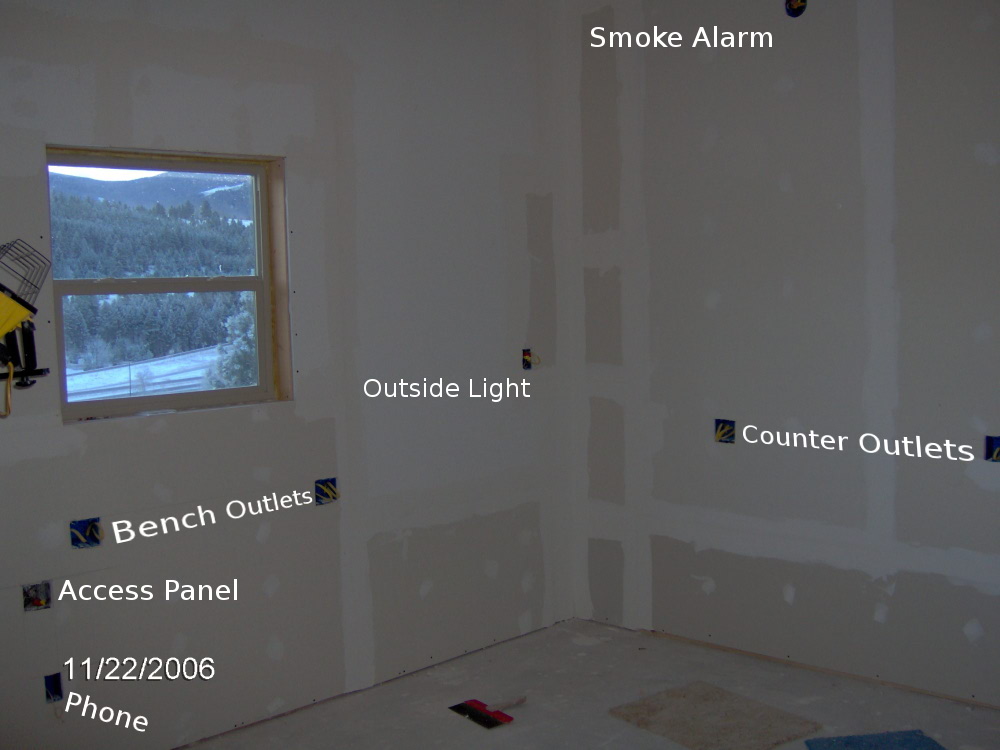
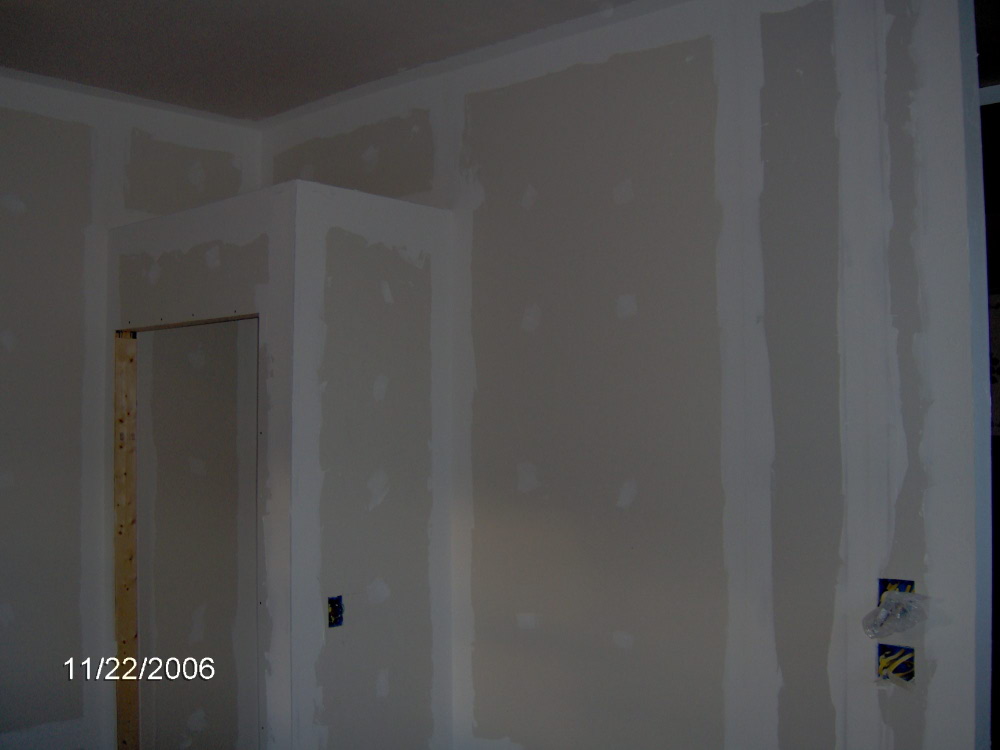
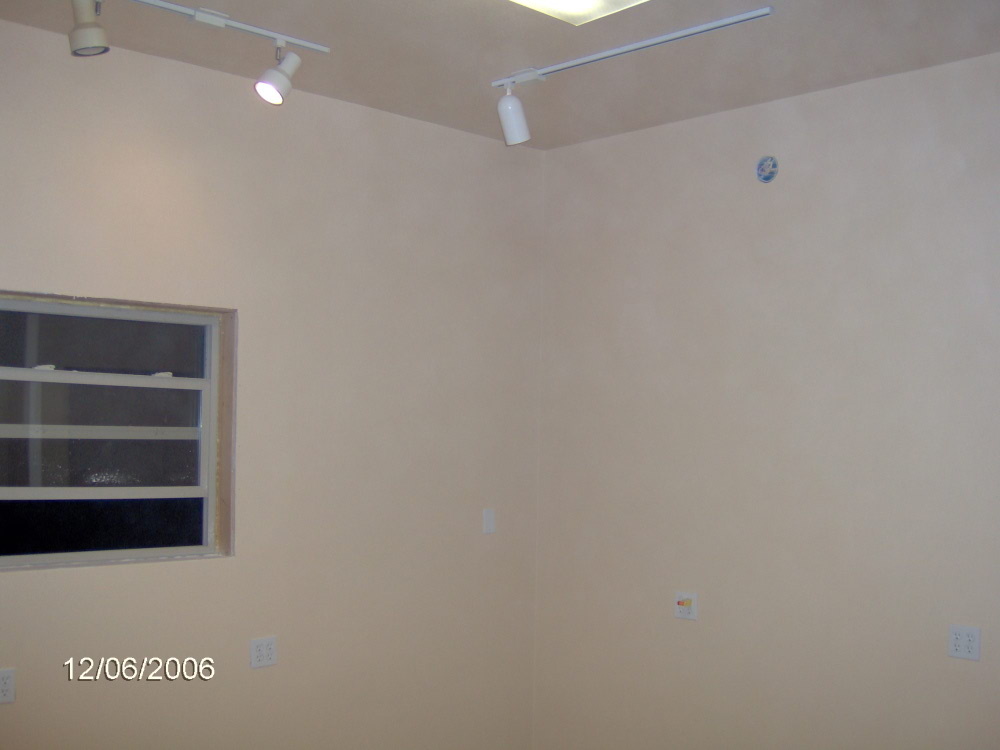
Walls closed in
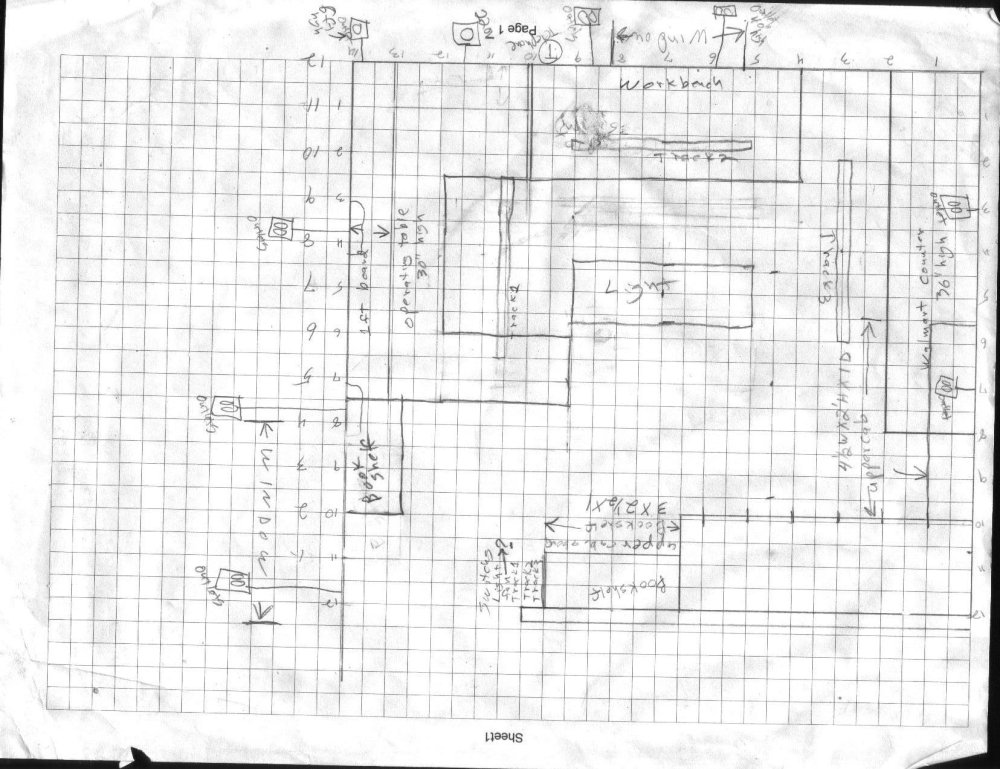
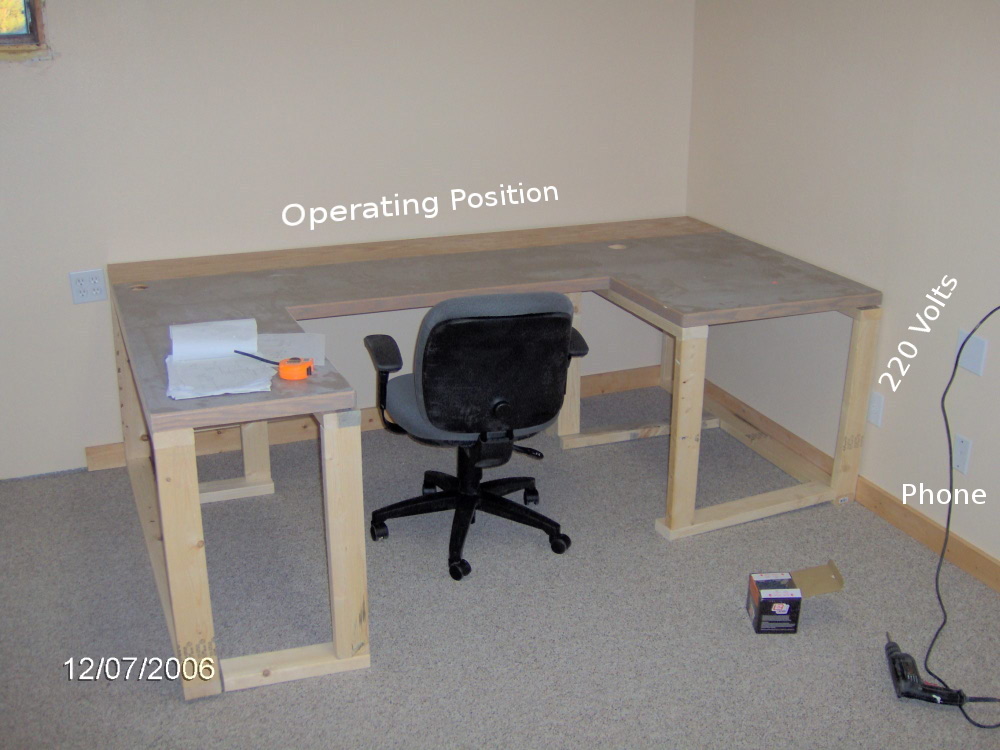
When I planned out the shack, I wanted plenty of power where I needed it. There were three main areas that I wanted lots of power. 1. My operating position, 2. My workbench area, and 3. Above a counter that would eventually be on the right side of the shack, along with some cupboards above the counter for plenty of storage. I also plumbed in 220 Volts near my operating position for that HF Amp that I might get some day.
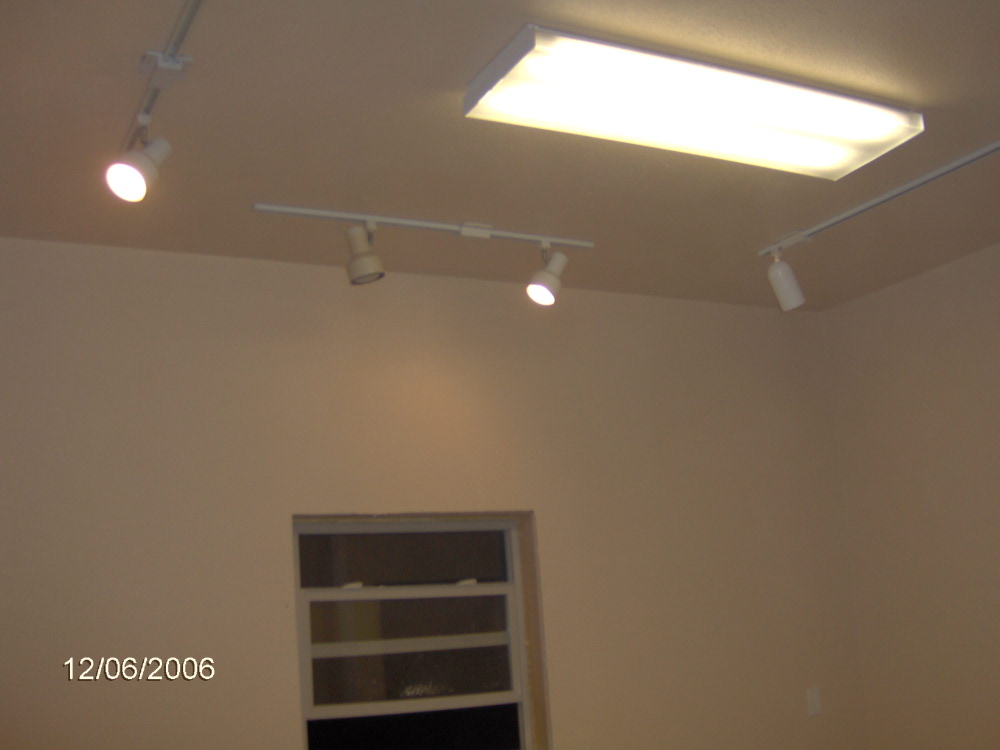
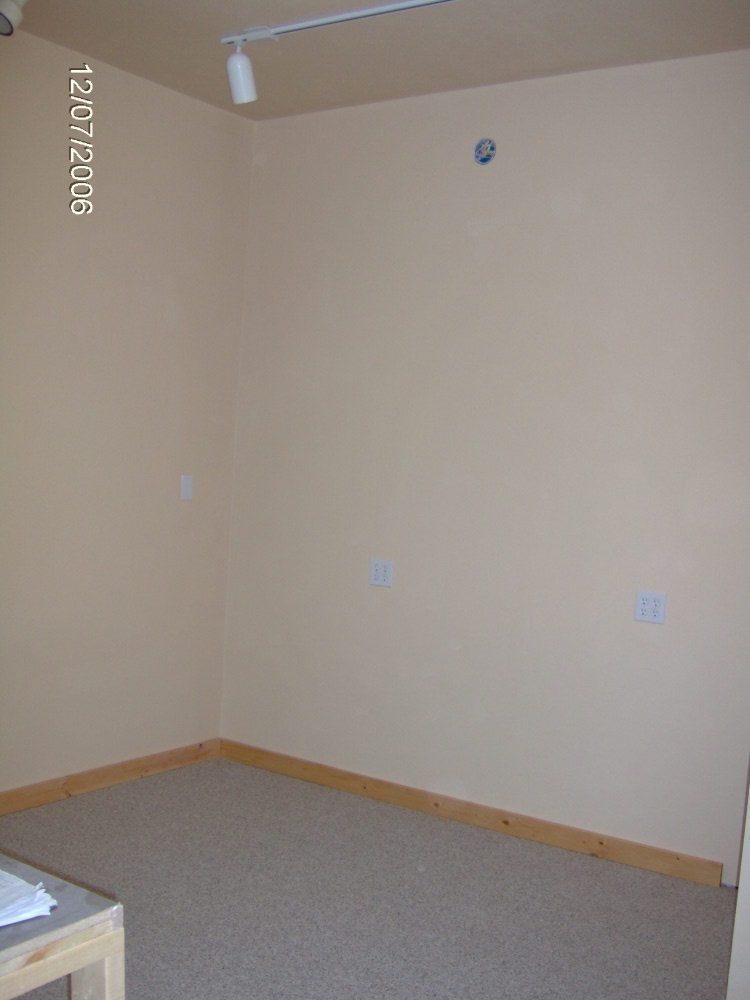
Some Paint and Fixtures
My past radio shacks have always been a spare bedroom or office. Lighting has never been adequate. Since I was starting mostly from scratch, I wanted to add plenty of light. There is a four bulb florescent light in the center of the room with individual track lighting above each main area, the operating position, workbench, and counter areas. Each track light is controlled separately and are dimmable. That way, I can have plenty of light in one area without burning juice in non used areas.
Operating Position
Long before the actual work was started, I was collecting supplies and drawing up plans. I found a U shaped desktop at the Habitat For Humanity Thrift Store for a low price. My prize possession was my workbench. A friend of my wife’s office was moving into a new building. They were disposing of all their existing furniture. I purchased the workbench and shelves for $25. I found that exact bench in a suppliers catalog for about $1100 dollars. The nice office chairs were purchased for 5 bucks each. What a deal. The counter on the right side of the shack was in our home when we purchased. It weighs a ton and was probably from a store in town somewhere.

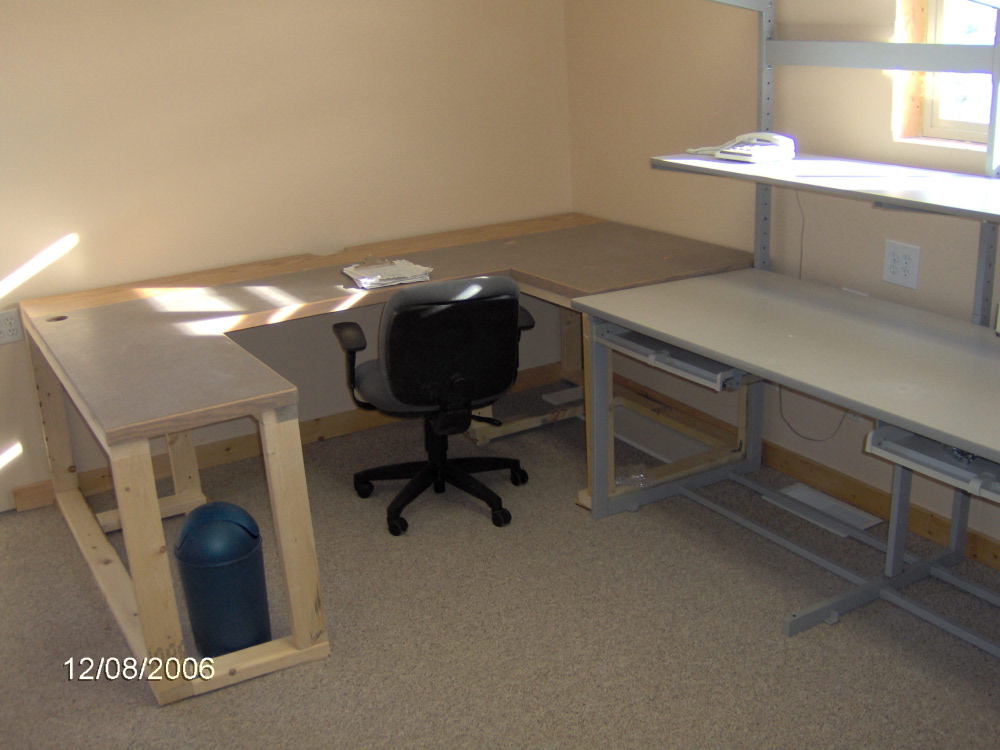
Workbench And Counter Areas
There are two cupboards in my shack. The smaller brown one on the left was also in our home when we purchased it. The white one on the right was a mistake from the manufacturer when we remodeled our old kitchen in our previous residence. Like a good ham, I don’t throw much away. My entire ham shack nicely fit in the closed while I was finishing off the room.


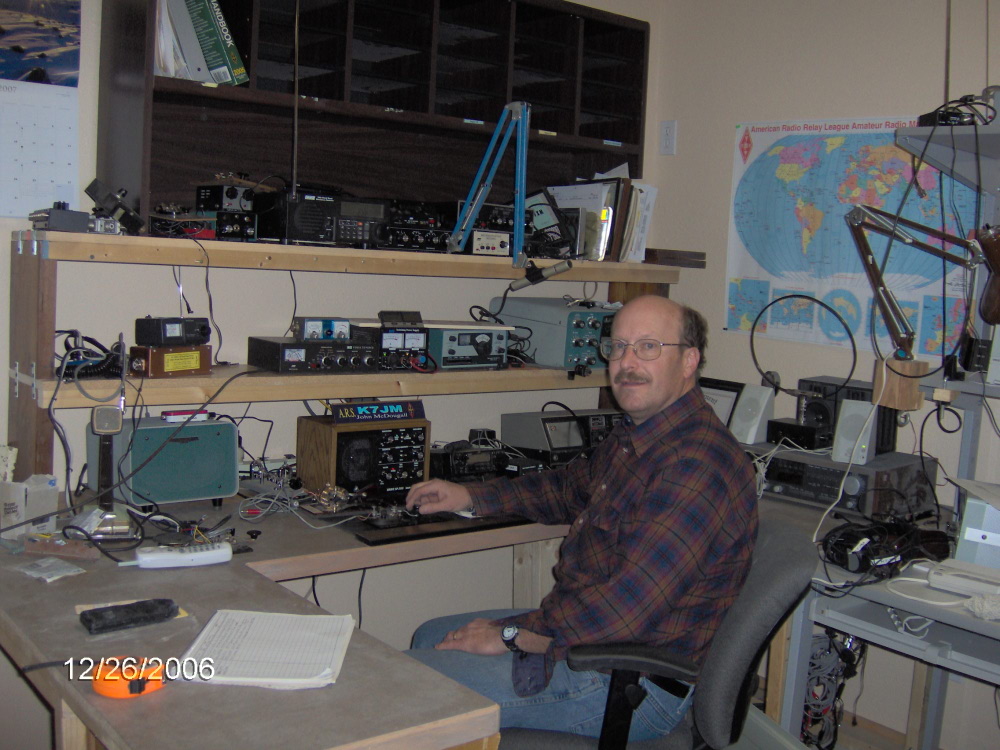
Boxes Unpacked
With time running out on my goal of Christmas Day unveiling, I quickly set up the shack. Things were pretty much thrown in approximate areas where I thought they should go. Many more boxes were needed to be unpacked, but the necessities were found. The picture on the left, shows me sitting at my operable shack on the day after Christmas 2006. What a great Christmas present as I was without a shack for over two years, and now I have a shack close to that of my dreams. I knew I had success when my lovely XYL Carol told me that it looked like I have been in the shack for ten years.


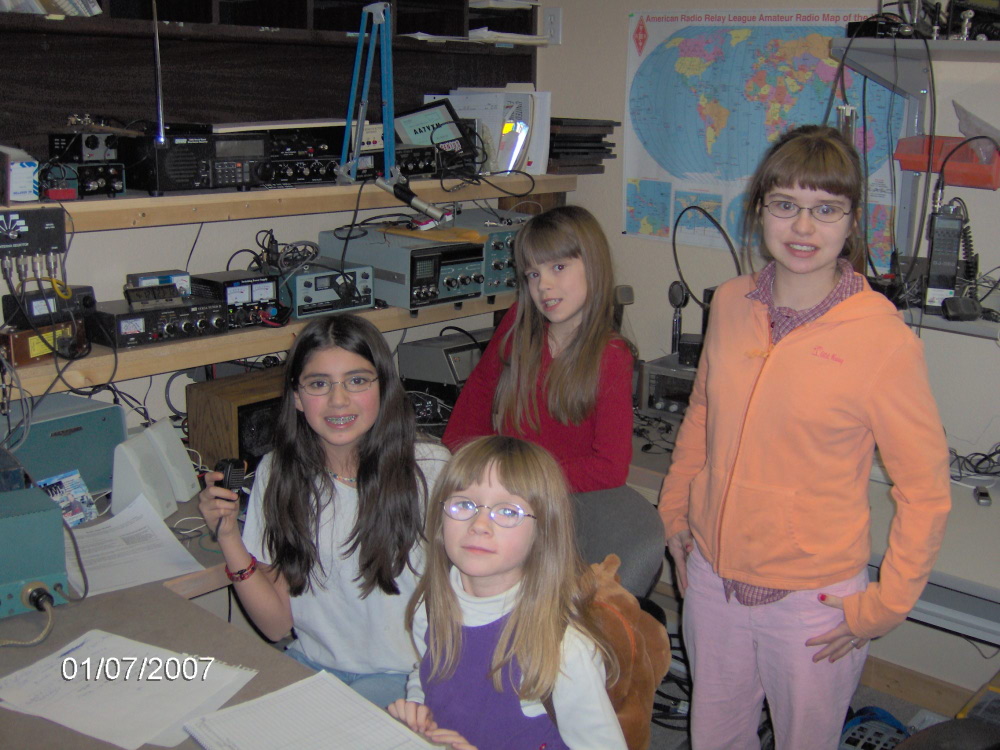
Kids Day 2007
The shack was done enough for my kids to participate in Kids Day in January 2007. What a blast.

Shack Setup Today
This is pretty much how I have my shack set up today. My main rig is now an Icom IC-706MKIIG, a nice little radio. I threw up a dipole antenna which has yet to be trimmed to proper length. I have several older rigs including my favored vintage Heathkit SB-102 station and accessories. I have a Heathkit HW-8 QRP rig, an old Atlas rig I found at a garage sale, and numerous station accessories I have aquired over the years. I like to ham on a shoe string, so my goodies come slow but generally cheap. Isn’t that a sign of a true ham? Never thowing anything away, and always looking for a bargain. Oh, my poor wife!
